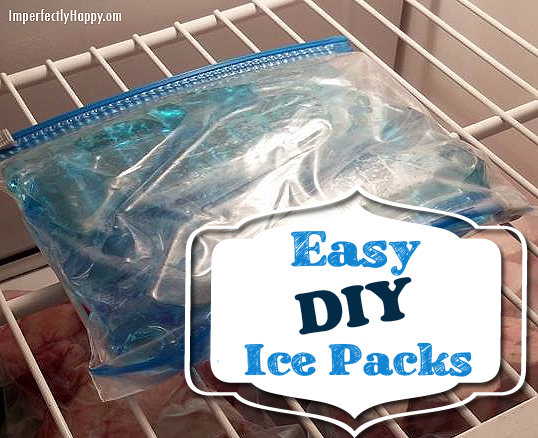
Lunch boxes, boo boos and drink coolers…DIY Ice Packs are handy and easy to make! Not to mention making your own is an awesome savings. I already had all the ingredients in my cabinets but you can purchase them for a steal at your local dollar store. We use our DIY Ice Packs in lunch boxes, soda cooler, a few in our larger cooler for picnics and recently for on our little one when she smacked her nose into a chair while building an indoor fort. DIY Ice Packs are great because they can be made and ready quickly!
DIY Ice Packs
Ingredients
- 2 quart-sized plastic zipper bags
- 1/2 cup of rubbing alcohol
- 1 1/2 cups of water
- 3 drops of blue food coloring (or any color you’d like)
- Quart sized mason jar (optional)
Steps
- Take your first plastic bag and put it inside the mason jar, folding the top over the edge.
- Add the water, alcohol and 3 drops of food coloring. Food coloring makes sure no one mistakes it for ice.
- Carefully pull the bag out, mixing the 3 ingredients together.
- Remove as much air as possible and zip the bag.
- Put that bag inside the empty bag, squeeze out the air and zip. The 2nd bag is just insurance for leaks.
- Lay flat in freezer
- Use as you would any freezer pack in your coolers or on the body as needed.
- Re-freeze and continue using
You can find all these ingredients at your local dollar or 99 cent store and make dozens for the price you would for one pre-made pack.

Folding the bag over a mason jar helps to avoid spills.
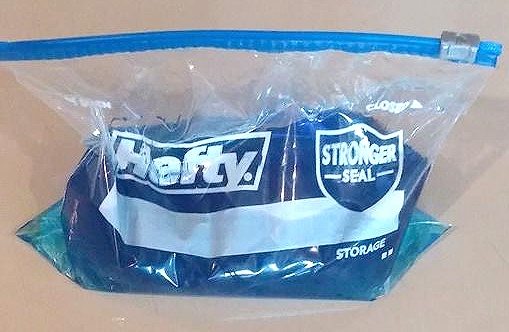
Double bags gives you insurance over leaks.
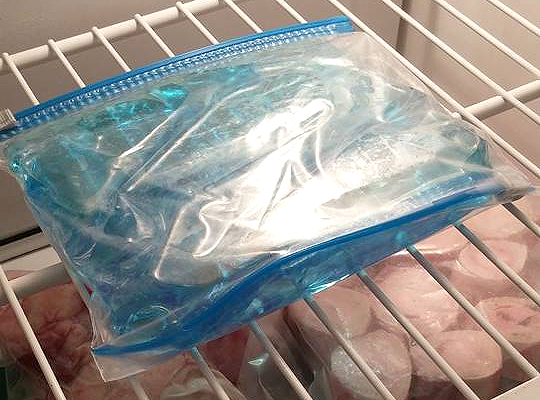
Lay it flat to freeze. The water will freeze but the alcohol won’t, leaving it flexible.
365 Days of DIY – Tips to Make Your Life Easier![]()